# Installation
This section guides you through the process of installing, activating and updating Secutify Solo Risk Assessment on a Windows computer.
Please check that your system meets the necessary system requirements before installation.
# System requirements
The following system requirements apply to SECUTIFY® Solo
Property | Requirement |
|---|---|
| Operating system | Microsoft Windows 8.1 with update KB2919355 (64 Bit only) Microsoft Windows 10 Anniversary Update (64 Bit only) (Version 1607 or later) |
| Processor | Processor x64 with 2 or more cores, min. 1.8 GHz CPU performance |
| RAM | Minimum requirement: 4 GB Recommended: 8 GB |
| Hard disk space | 3 GB |
| Screen resolution | Conventional displays: 1920 x 1080 with True Color |
| Internet connection | The Internet connection is required for updates, for downloading and using some features and for activating the license. |
| Browser | Google Chrome™, Mozilla Firefox™, Microsoft Edge™ (for online help) |
# Software Installation
Note
For the installation local administrator rights are required. If you do not have the required rights, please contact your system administrator.
# Download Secutify Solo
Go to the Secutify website and log in to My Account. You will find the download link for the installation package under the menu item Product Downloads.
# Installation of Secutify Solo
To install Secutify Solo, proceed as follows:
- download the Secutify Solo installer.
Open the installer.
Click on Next.
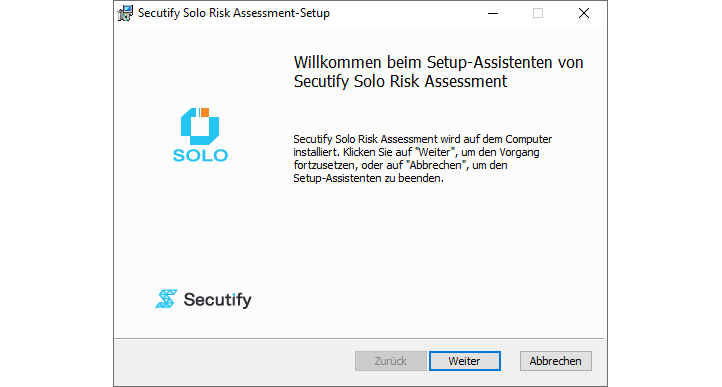
- accept the License Terms and click on Next
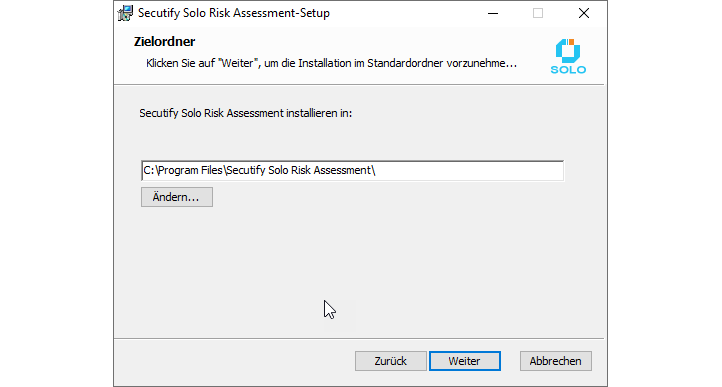
- select the destination folder for the installation and then click Next
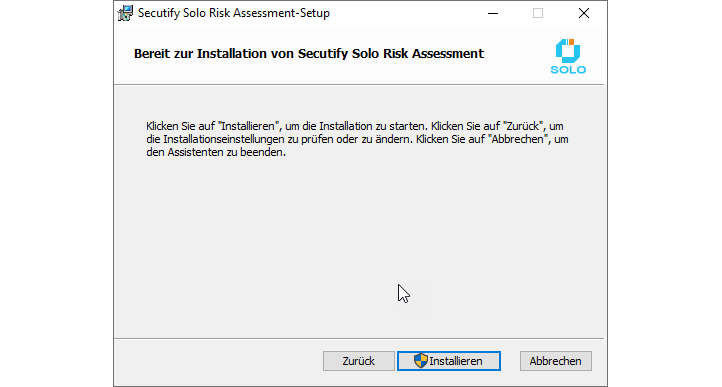
- click Install to run the installation When asked if you want to allow this application to make changes to your device, click Yes.
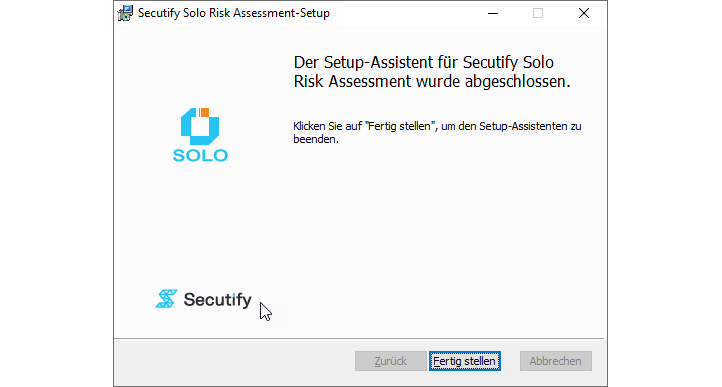
- wait until all files are compiled, then finish the setup wizard with Finish.
# Software activation
Go to the Secutify website and log in to My Account. You will find your license key under the menu item Product Keys.
Note
There are two types of license keys available.
- Product Order License Key: Can be used to activate a specific product.
- Master License Key: Can be used to activate any product.
Which option you should use depends mainly on how you want to manage licenses in your organization. Please use the option best suited for your business.
- Start Secutify Solo via the entry in your start menu.
By default Secutify Solo starts in demo mode.
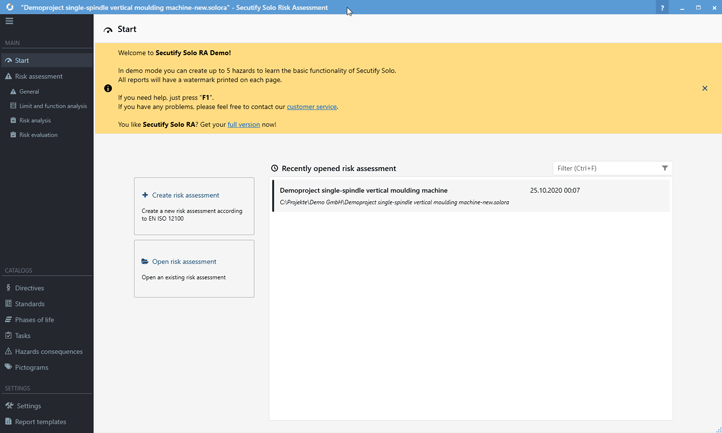
The demo mode is not limited in time, but has minor functional limitations. After activating a license the full range of functions is available. The displayed hint banner can be hidden by clicking the button Close .
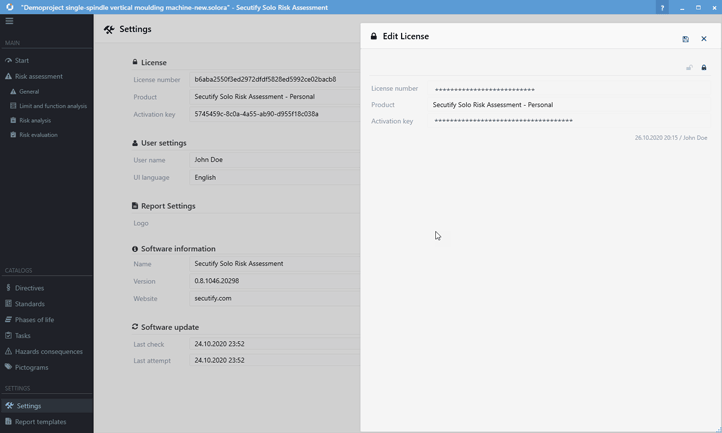
go to Options in the main menu and enter your license number in the License section. To do this, click on the Edit button
enter your received license number in the License number field and activate it by clicking the button activate license
The successful activation of your license is confirmed with the following display.
- Save the input with the Save button
Note
The license will be updated regularly in the background. Please ensure that Secutify can connect to the license server via the Internet at regular intervals.
# Software update
Checking for updates is done via Internet. Therefore, make sure that an Internet connection is available and that the update servers are accessible from your workstation.
# Automatic check
When you start Secutify Solo, it automatically checks for updates. Available updates are displayed via the update hint below the header bar.
To update the application, follow these steps:
Click on Start Software Update to open the Software Update dialog.
The Software Update dialog will show you the current available version. Click Download and install to start the software update.
The software update automatically downloads the current version and will then start the installation. Please follow the instructions in the installation wizard. (For more information, see section: Installation
Note:
You can cancel the download at any time by clicking the button Cancel.
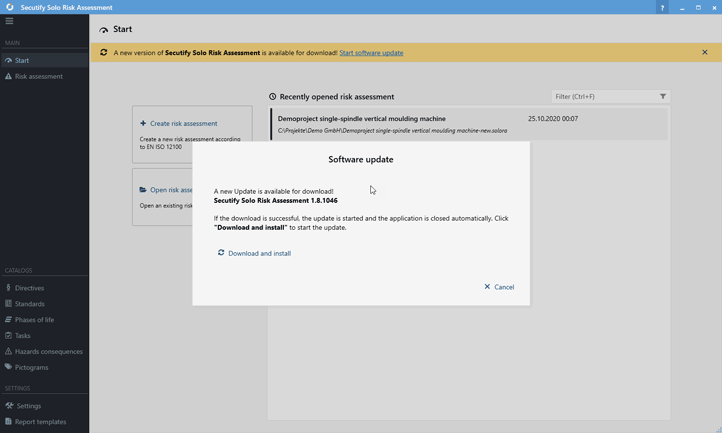
Should you want to install the update at a later point in time, you can hide the update hint with the button close .
# Manual check for updates
You can always manually check for available software updates.
To do this, carry out the following steps:
go to the menu item Settings in the main menu
in the section Software update click on the button Check for updates
on the right.
if a newer version is available, the software update dialog is displayed. Click on Download and install to start the software update.
The software update will automatically download the latest version and then start the installation. Please follow the instructions in the installation dialog. (For more information, see section: Installation
Note:
You can cancel the download at any time by clicking the button Cancel.
# Deinstallation
Um Secutify Solo zu deinstallieren, gehen Sie wie folgt vor:
- Stoppen Sie alle laufenden Programmfenster der Anwendung.
- Öffnen Sie Systemsteuerung > Programme und Feautures, wählen sie Secutify Solo Risk Assessment und klicken Sie auf Deinstallieren.
- Folgen Sie den Anweisungen am Bildschirm.
# Uninstall
To uninstall Secutify Solo, follow these steps:
- stop ** all running program windows of the application **
- Open Control Panel > Programs and Feautures_, select Secutify Solo Risk Assessment and click Uninstall.
- follow the instructions on the screen.